
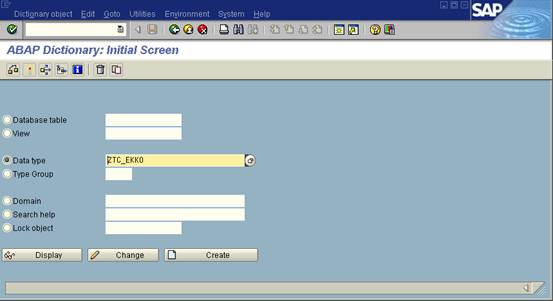
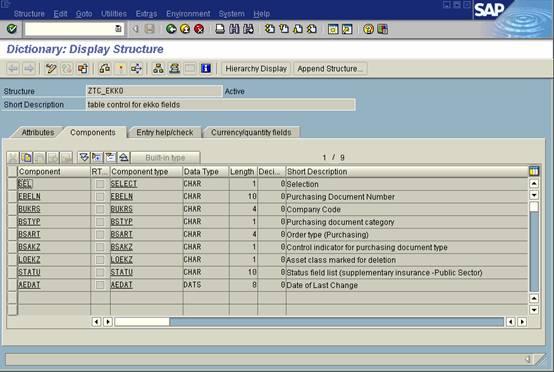
· Step 1 (Create new structure for table control)
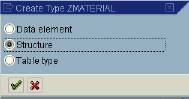
Type is name of structure (ZTC_EKKO) and press create
|
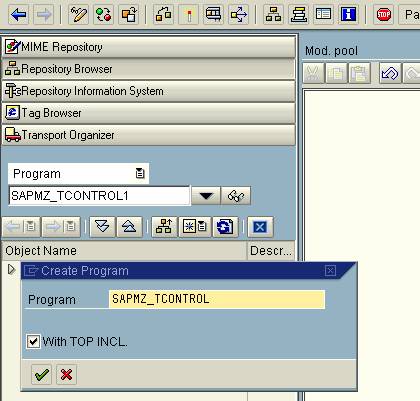
· Step 2 (Create Program)
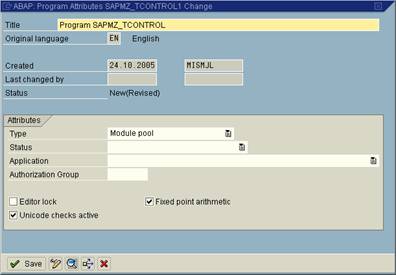
Goto transaction SE80(Object Navigator) -> Repository Browser -> Program.
Enter your program name, please ensure that is begins with SAPMZ…… as this is a module pool (dialog program).
Press enter to create, and press yes!
Ensure that you create a top include, and press Enter.
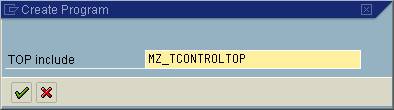
Accept the name created for the top include.
Press Enter.
Press Save
· Step 3 (Create TOP include)
Double click on the top include and enter following ABAP code:
Tables: ZTC_EKKO.
controls: tc100 type tableview using screen 100.
data: ok_code type sy-ucomm.
data: it_ekko type standard
table of ZTC_EKKO initial size 0,
wa_ekko type ZTC_EKKO.
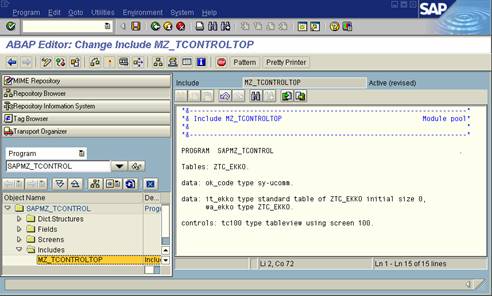
Press Save and Activate
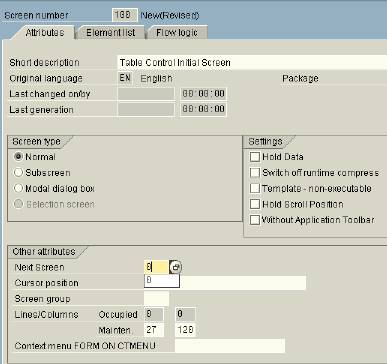
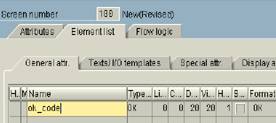
· Step 4 (Create screen)
Right click the program to create a screen 100 for the dialog. Enter Short description, set screen type to Normal

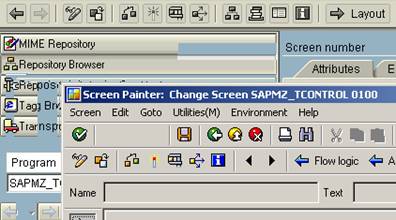
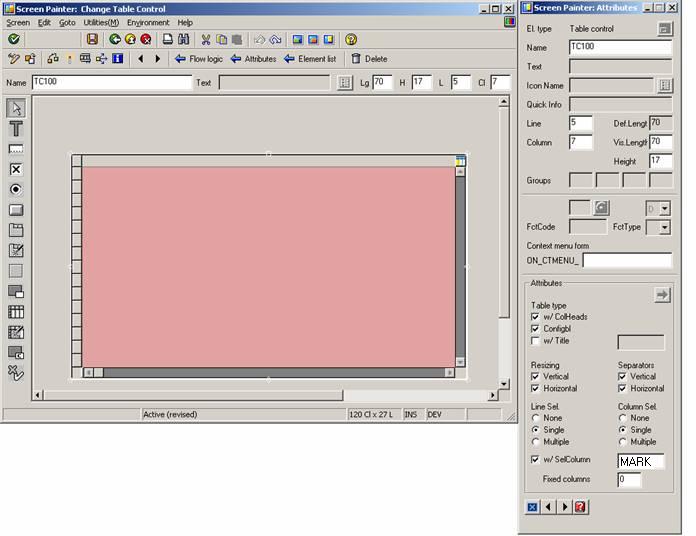
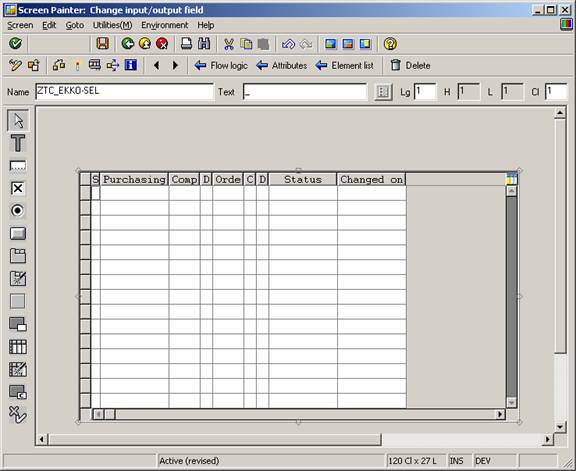
· Step 5 (Create table control)
Press the Layout button to bring up the screen painter editor.
Press table control button and drag it on to the screen, enter the name of table control created in TOP include (TC100). Now press the yellow button for attributes and set the table control as below options
· Step 6 (Populate table control )
Press the orange button (Fields). On the next screen enter ZTC_EKKO and press the ‘Get from Dict’ button. Select the fields you want (all) and press enter. Now drag them onto your Table Control.
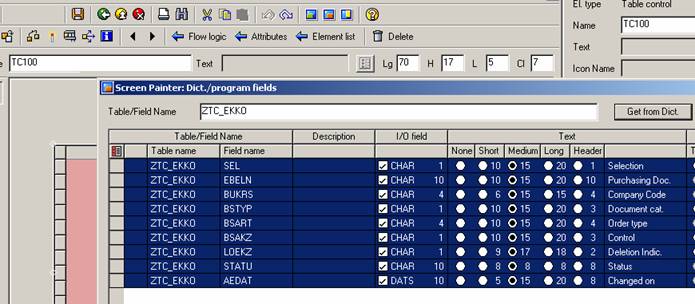
Below is the result, there will been syntax errors if we check now! So Save and go back into the flow logic tab.
· Step 7 (Create flow control )
Within the flow logic of screen 100 and create two modules, one to select the data from the database and the other to move the selected fields into the table control. Also insert the two loop statements to populate and retrieve the lines of the table control.
PROCESS BEFORE OUTPUT.
* MODULE STATUS_0100.
module data_retrieval.
loop at it_ekko into wa_ekko with control TC100.
module populate_screen.
endloop.
*
PROCESS AFTER INPUT.
loop at it_ekko.
endloop.
* MODULE USER_COMMAND_0100.
|
Double click the module data_retrieval to create and click yes to get past the popup. Ensure that a new include is created to hold all the PBO modules (default). Press enter.
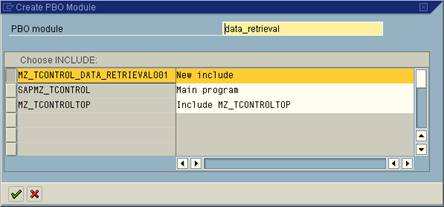
Select 10 rows of data from the EKKO table and load into the internal table it_ekko. Go back to the flow logic to load this data into the Table Control.
*----------------------------------------------------------------------*
***INCLUDE MZ_TCONTROL_DATA_RETRIEVALO01 .
*----------------------------------------------------------------------*
*&---------------------------------------------------------------------*
*& Module data_retrieval OUTPUT
*&---------------------------------------------------------------------*
* text
*----------------------------------------------------------------------*
MODULE data_retrieval OUTPUT.
* select data from ekko table
SELECT ebeln bukrs bstyp bsart
bsakz loekz statu aedat
UP TO 10 ROWS
FROM ekko
INTO CORRESPONDING FIELDS OF TABLE it_ekko.
ENDMODULE. " data_retrieval OUTPUT
|
Double click the module populate_screen to create. Now move the values in this loop from the wa_ekko into the Table Control with the move-corresponding statement.
MODULE populate_screen OUTPUT.
DATA: ld_line TYPE i.
* Set which line of table is a top of displayed table control
IF sy-stepl = 1.
tc100-lines =
tc100-top_line + sy-loopc - 1.
ENDIF.
* move fields from work area to scrren fields
MOVE-CORRESPONDING wa_ekko TO ztc_ekko.
ENDMODULE. " populate_screen OUTPUT
|
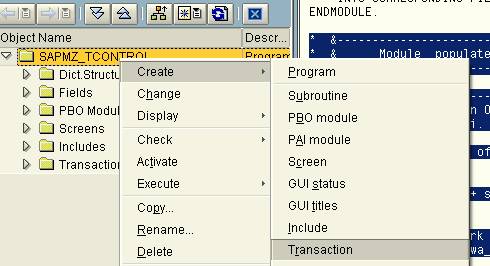
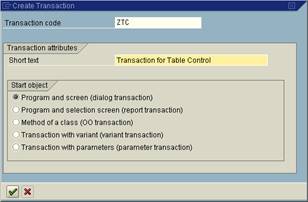
· Step 8 (Create transaction )
Now create a transaction to test the table control program. Right click the Program and select create-> transaction.
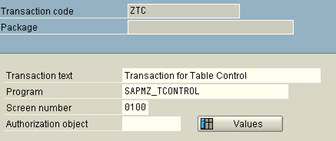
· Step 9 (Execute transaction )
Execute transaction ZTC
No comments:
Post a Comment